Friday, July 31, 2009

Quick, Easy, and oh so Delicious: Salmon with Garlic, Mustard, and Herbs


Even though Emmanuelle is a vegetarian these days, I thought I would post this salmon recipe anyways. I simply adore the combination of Dijon and coarse grain mustard on sandwiches and, apparently, on salmon as well. The flavor of this dish was just great. Sometimes salmon can be boring, but the liveliness from the mustard, herbs, and garlic in this sauce guaranteed that this wasn't 'just another piece of salmon'. Bonus: it only took 10 minutes. Something tells me this might become one of my 'standards'.

First, mix the mustard-herb-garlic glaze.


Broil the salmon, sans glaze for a couple of minutes.

Top the salmon with the glaze and return to the broiler.

Five minutes later you have an interesting, delicious take on salmon.

Broiled Salmon with Garlic, Mustard, and Herbs (adapted from Giada's Family Dinners)
Serves 3

1 clove garlic, minced
1 Tablespoon Dijon mustard
1 Tablespoon whole-grain mustard
1/4 + tsp finely chopped fresh rosemary (if doubling recipe, use 3/4 tsp)
1/4 + tsp finely chopped fresh thyme (if doubling recipe, use 3/4 tsp)
1/2 Tablespoon (2 tsp) dry white wine
1/2 Tablespoon (2 tsp) olive oil
Non-stick cooking spray
3 (6 oz) salmon fillets
Salt and Freshly Ground Black Pepper
3 lemon wedges

In a small bowl, mix the garlic, both mustards, rosemary, and thyme. Mix in the wine and oil. Set aside.

Preheat the broiler. Line a heavy rimmed baking sheet with foil and spray with cooking spray. Place fillets on baking sheet and sprinkle with salt and pepper. Broil for 2 minutes. Spoon the mustard sauce over the fillets. Continue broiling until fillets are just cooked through and golden brown, about 5 minutes longer. Serve with lemon wedges.

Notes: the lemon is an absolute must.

I heart Mark Bittman

Here is another salad inspired by Mark Bittman's brilliant list.

Mixed greens, avocado, peaches, heirloom tomatoes, almonds (roasted and salted), feta, basil, and a light basil vinaigrette. Absolutely yum.

Monday, July 27, 2009

Fruity Green Salad

Inspired by Mark Bittman's 101 Salads for the Summer Season, and with a fridge full of bounty from Park Slope's 5th Avenue Farmer's Market, I decided to throw together some fruit and greens for dinner this evening. The result? Pure beauty.

Ingredients:
Romaine lettuce
Nectarines
Blueberries
Basil (I threw about 10 leaves in there because our plants are becoming unwieldy)
Parmesan shavings
Splash of Balsamic Vinegar
Freshly ground pepper

Sunday, July 26, 2009

It may not be pretty, but...

this mushroom-leek soup is delicious!

In an effort to use up all the leeks I bought, I decided to make one more leek-based soup. I thought the flavor was just terrific. The hints of sweetness from the sherry, the earthiness from the mushrooms and thyme, the delicacy of the leeks... not too heavy, but so very comforting.

Mushroom Leek Soup (adapted from 'Mushroom Leek Soup' on epicurious)
2 Tablespoons butter
2 leeks, cut into 1/4 inch rounds and rinsed
1 clove of garlic, minced
1 lb mixed mushrooms, sliced (I used Cremini and Shitake)
1/4 cup dry sherry
2 1/4 cups low-sodium chicken stock (you could use vegetable stock as well)
1 tsp dry thyme
1 1/2 tsp salt
1 tsp pepper

Heat the butter over medium heat. Add the leeks and saute for 5 minutes. Add the garlic, saute briefly until garlic is warmed through. Add the mushrooms and saute for 8 minutes. Add the sherry and bring it to a boil for a minute. Add the stock, thyme, salt, and pepper. Bring to a boil, reduce the heat, and simmer over low for 20 minutes. Remove about half of the soup and puree, and mix it in with the remaining soup.

Garnish with Gruyere, parsley, chives, or whatever you like.

Note: I really love that in order to thicken this soup, you don't add cream or flour. Instead, you puree part of the soup. Brilliant!

Wednesday, July 22, 2009

A lot-a frittata (I could not resist)


So, I was rummaging through my refrigerator and noticed that I had quite a few eggs that were about to expire. I also noticed that I had some left over leeks, mushrooms, and zucchini. And, always (always!), I had some Gruyere. It all became clear: time to make a leek, mushroom, zucchini frittata.

I love making frittatas, not just because they are a good way to use ingredients, but they are so versatile. Add a salad and some crusty bread: you have an elegant lunch or light dinner. Put it between two slices of bread, add some spinach, (maybe some more cheese), and some sort of sauce (apple butter? mustard?): you have a delicious sandwich. Cut it into pieces and toss it with greens, veggies, and a vinaigrette: you have a wonderful salad. I could go on, but I think you have an idea of what I will be eating for the next few days.

The method seems very simple.

Start with delicious ingredients


(the nutmeg adds so much warmth and depth, I love it.)

Combine the eggs, milk, spices, and cheese

Saute the veggies


Add the egg mixture


Cook for a few minutes until set, but the top is still runny (notice how it is getting set around the edges)


Sprinkle cheese over it. Pop it in the oven for 15 minutes

Let it stand for a couple of minutes

And voila! A delicious frittata:


Below, I have included two recipes. One for the leek, mushroom zucchini frittata I just made. And another Basic Frittata Recipe for whatever you have/would like to use.


Leek, Mushroom, Zucchini Frittata
1 Tablespoon olive oil
1 Tablespoon butter
1 chopped leek, white part only
1 cup sliced mushrooms (I could have added more)
1 cup sliced zucchini (I could have added more)
8 eggs (normally you use 6 eggs, but I had 8 on hand)
1/4 cup milk
1/2 tsp salt
1/2 tsp pepper
1/8 tsp freshly grated nutmeg
1 cup shredded Gruyere, divided
1 Tablespoon Parmesan or Romano

Preheat oven to 425 degrees. In a medium bowl, whisk together eggs, milk, salt, pepper, and nutmeg. Stir in 3/4 cup Gruyere. Set aside. Heat olive oil and butter over medium heat in a 10 inch non-stick skillet. Add leeks and saute for 4 minutes. Add mushrooms and zucchini, saute for another 6 minutes. Lower heat to medium-low and add egg mixture. Cover and cook until set but the top is still runny, takes 2-4 minutes. Sprinkle with remaining 1/4 cup of Gruyere and Romano. Wrap skillet handle in aluminum foil and place in the over for 15 minutes, or until puffed and golden. Let stand for 2 minutes. In order to get the frittata out of your pan, run a spatula around the edges. Then as you tilt the pan on its side, gently put your spatula underneath the frittata and lift slightly. The frittata should slide nicely onto a plate. Serve... anyway you want!

Basic Frittata Recipe
1 Tablespoon oil
1 Tablespoon butter
1/2 an onion or 1 leek
1 1/2-2+ cups of veggies (following Mark Bittman, I think you can really use as many veggies as you like, I think next time I will add more)
6-8 eggs
1/4 cup milk
salt and pepper
other spices if you like (freshly grated nutmeg, fresh basil)
1 cup cheese (pick one that melts well, like Gruyere or Fontina)
1 T hard, salty cheese for the top (Parmesan, Romano)

Following the method above.

Sunday, July 19, 2009

A bowl of elegance: Zucchini Vichyssoise

One of the (many) things I love about French food is the elegance of it. It never hits you over the head or overwhelms your palate. Instead, it has this subtle, beautiful way of impressing you. It is like a good Bordeaux: restrained, yet complex; balanced, yet intriguing. This Vichyssoise is the perfect example. Each element of the soup enhanced the others, creating a wonderful balance of flavor. This would make a great first course, warm or cold.


Here's how I made it:

First things first: Mis en place


The vegetables:
Leeks
Zucchini

Potatoes

To make the soup, heat the butter and oil

Add the leeks, and saute for 5 minutes

Add the potatoes, zucchini, stock, salt, and pepper. Bring to a boil. Lower the heat and simmer for 30 minutes.

Let it cool for a few minutes, and then use an immersion blender to puree the soup.

Stir in the milk and season with salt and pepper (to taste). I ended up needing to add quite a bit.


Garnish with julienned zucchini and serve.

Throw in a mixed greens salad, multi grain toast, and a Chilean red-blend and you have quite a dinner on your hands.

Zucchini Vichyssoise (adapted from Barefoot in Paris)
Serves 5-6

1 tablespoon unsalted butter
1 tablespoon olive oil
5 cups chopped leeks, white and light green parts (4-8 leeks)
4 cups chopped unpeeled white boiling potatoes (I used a bag of TJ's white creamer potatoes)
3 cups chopped zucchini (2-3 zucchinis)
1 1/2 quarts chicken stock
1 1/2 tsp kosher salt
1 tsp freshly ground black pepper
2 tablespoons whole milk
Julienned zucchini for garnish

Heat the butter and oil in a large stock pot, add the leeks, and saute over medium-low heat for 5 minutes. Add the potatoes, zucchini, chicken stock, salt, and pepper; bring to a boil; then lower the heat and simmer for 30 minutes. Cool for a few minutes and then process with an immersion blender. Add the milk and season to taste (be sure to add lots of seasoning, because the original amounts are not enough). Serve either hot or cold, garnished with zucchini.

Notes: I think that you could also add some freshly grated nutmeg when you add the milk to enhance and round out the flavor. I also think you could garnish it with just about anything: Gruyere or Parmesan, herbed croutons, fresh parsley, freshly grated nutmeg, chopped pecans, and the list could go on.

Friday, July 17, 2009

Summer Soup

If there's one thing I can't go without during the summer, it's gazpacho. I'm not too picky about how it's made, as long as it has all of the right ingredients (there's some foreshadowing for you). This means that I don't usually use a recipe. For better or for worse (there's even more foreshadowing for you). I don't always include bread when making gazpacho, but I did this time... I find that it softens the taste a bit, taking away that fierce bite this soup can sometimes have.
As you can see from the picture, the ingredients for this delicious soup are fairly straightforward. (Note: 1 cucumber is usually enough.)


Step 1a: Cut everything up into chunks


Step 1b: Before blending it all together, I like to reserve some chunks to add back into the blended mix at the end, which brings some nice texture to the soup.

Step 2: Blend and add back in reserved chunks (ok, it doesn't look that appetizing, I'll give you that).


Step 3: Add salt, pepper, paprika to taste & plate.


So when I sat down to eat this gazpacho, I decided it wasn't tomato-y enough... so I decided to add a 23-oz can of whole tomatoes (not as good as fresh tomatoes, but it's what I had on hand...).

The gazpacho then turned into this:


At this point I taste the gazpacho. Tomato-flavor? check. But it still seemed to be missing that crisp and fresh summer flavor... "ah well," I told myself, "maybe I just forget what gazpacho is supposed to taste like."

So then I started cleaning up, and what do I find?? The entire cucumber that I had completely forgotten to add!

My friends: cucumbers are the key ingredients to gazpacho. They're what make it "gazpacho" and not "chilled tomato soup."

And indeed, doesn't this look delicious?


Lessons learned:
1. follow recipes (especially when you haven't made the dish in a while)
2. don't forget ingredients

Here's roughly the recipe I used (all ingredients ultimately accounted for); a cross between this epicurious recipe and this Ina Garten recipe.
  • 5-6 tomatoes (i threw in a yellow one for good measure), halved
  • 1/3 pound country-style bread, cut into 1/2-inch pieces (about 2-3 cups)
  • 23-oz can whole tomatoes
  • 1 red bell pepper, seeded, diced
  • 1 whole chopped peeled English hothouse cucumber
  • 1 cup chopped red onion
  • 1/4 cup White wine vinegar
  • 1/4 cup extra-virgin olive oil
  • 3 garlic clove, minced
  • Salt, pepper, and paprika to taste

Thursday, July 2, 2009

The Water Bath

Alright: here's the deal with chocolate. Chocolate is fairly finicky... it overcooks easily, but also cools and changes consistency equally as easily. Pretty much the best method to deal with chocolate is to use a double boiler. Sounds complicated? It isn't.

You don't really need special equipment, just 2 pots, 1 that fits inside the other. The smaller pot will hold the chocolate, the larger one will hold the water. In french, they call this method the "bain-marie" or "water bath." I like that.

So all you have to do is simmer/boil the water, place the smaller pot with chocolate in its bath (the larger pot) and stir constantly until the chocolate is melted. Note: because chocolate can overcook and become grainy, you want to take it off the heat as soon as it has your desired consistency.


Sam: I think you'll find it much more easy to drizzle chocolate when prepared like this! You can also try playing around with adding ingredients to the chocolate that will change the way it cools and tastes. Chocolate sauces (vs. chocolate for dipping) usually have cream or butter added, as well as sugar and some liqueur for flavoring.

Wednesday, July 1, 2009

Temper, temper: Chocolate-Cherry Biscotti

I adore eating biscotti. So much flavor, so much crunch. And so versatile: good for breakfast (dipped in coffee), good for an afternoon pick-me-up (dipped in coffee), good for dessert (dipped in chocolate, then dipped in coffee).

And I adore making biscotti. Biscotti are more time consuming than cookies, but I find the whole process downright theapeutic. So many details to take care of: making the dough, forming the logs, baking the logs, cutting the logs, putting the cookies back in the oven, dipping them in chocolate. When I want to feel accomplished, biscotti are the way to go.

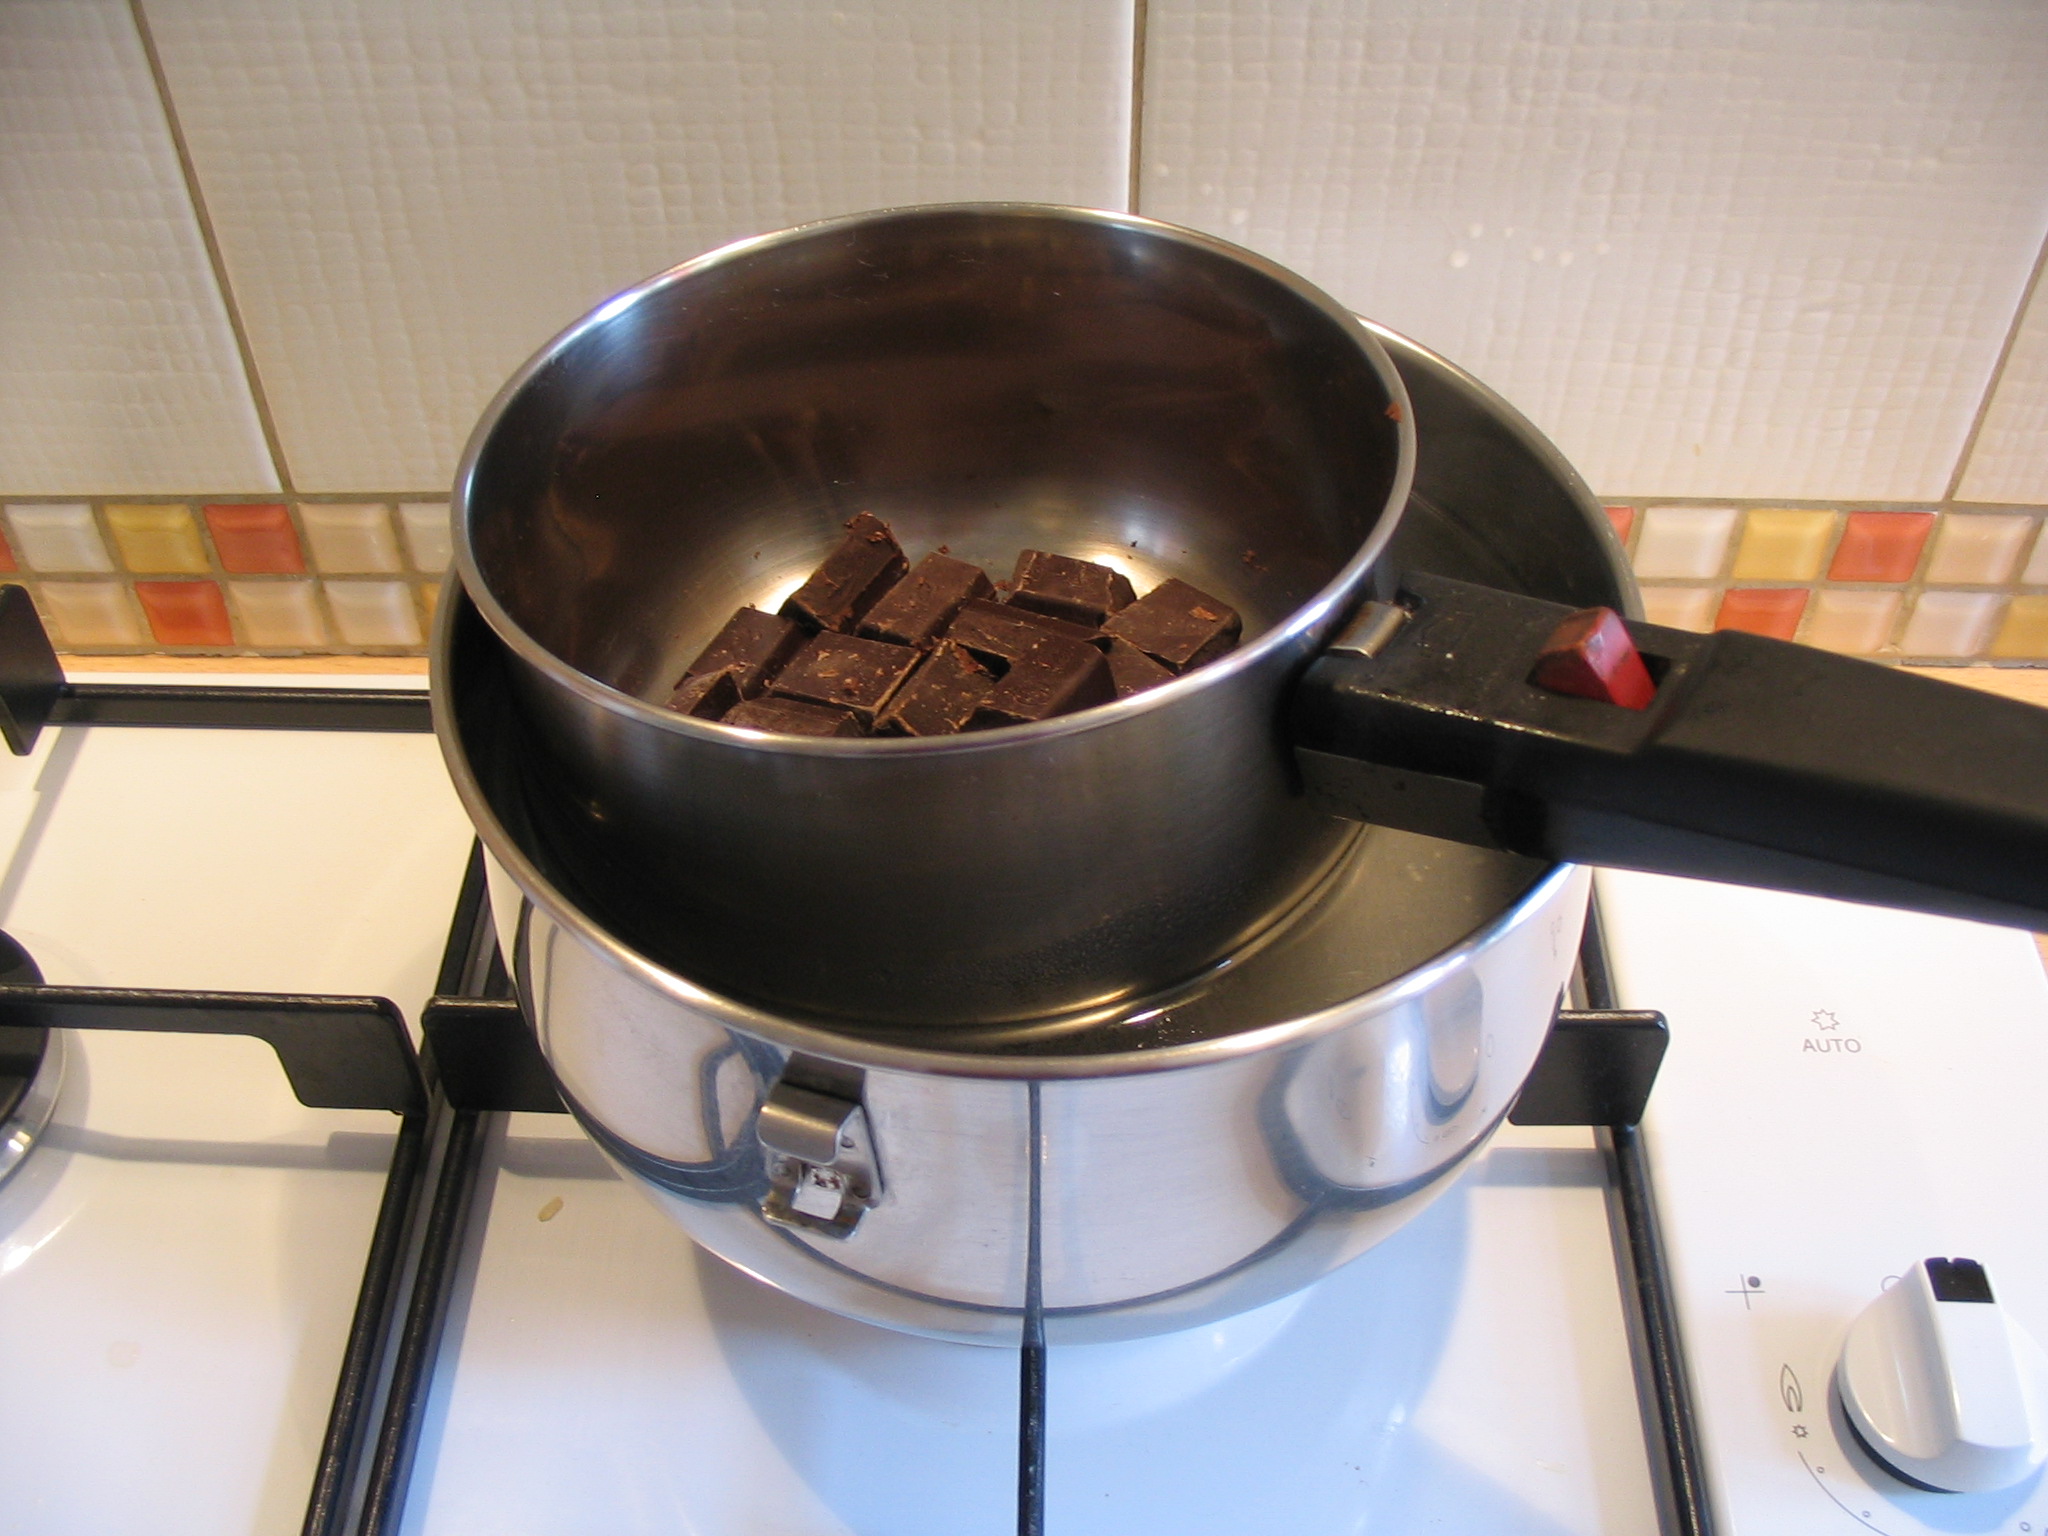
But, I have to admit, I haven't quite mastered the dipping or drizzling with chocolate step. I have tried a couple of methods for tempering chocolate. For the chocolate dipped strawberries, I did a stovetop method. This time, I thought I would try a microwave method. I used about 6 oz of semi-sweet chocolate chips and placed them in a microwave safe bowl. I microwaved the chocolate at 30 second intervals. I ended up doing 3. Dipping the biscotti didn't quite work because there was only enough chocolate in the bowl to cover 1/8 of the biscotti. So I ended up 'painting' the chocolate on with a spatula. This appears to have worked alright. The lesson: if dipping biscotti, make sure the chocolate is deep enough or your bowl wide enough to cover at least half the cookie.

And then for the drizzling. Or should I say the disaster? It seems so easy, right? Dip your fork in the chocolate, then move your fork back and forth over the biscotti as the chocolate drips down. I certainly moved the fork back and forth, but the chocolate would not cooperate. Either it wouldn't flow at all or it would flood onto the biscotti all at once. Emmanuelle, advice? Was the chocolate too warm? Not warm enough?

In the end, there were biscotti covered with chocolate, so I came out ahead. But I realize I haven't quite got the tempering process down.


Cherry Almond Biscotti with Chocolate (adapted from King Arthur Flour The All Purpose Baking Book)
Makes about 60


4 tablespoons unsalted butter
1/4 cup vegetable shortening
3/4 cup sugar
3 eggs
1 tsp vanilla extract
1 tsp almond extract
1 tsp baking powder
3/4 tsp salt
3 cups flour
1 cup lightly toasted, coarsely chopped almonds
3/4 c+ coarsely diced dried cherries (I used 3/4 cup, but thought they could do with a bit more)
6 oz semi-sweet or dark chocolate

Preheat oven to 375.

In a large mixing bowl, cream together the butter, shortening, and sugar. Add eggs one at a time, beating well after each addition. Beat in the vanilla, almond extract, baking powder, and salt. Mix in the flour 1 cup at a time, until you have a cohesive, well-mixed dough. Add the almonds and cherries, mixing until they're distributed throughout the dough.

Transfer the dough to a work surface. Divide it into three fairly equal pieces and shape each piece into a rough 12 inch log [or into two 9-inch logs]. Transfer log to parchment lined baking sheet, leaving about 3 inches between them; you man need two baking sheets.

Bake the logs for 20-25 minutes, until they're beginning to brown around the edges. Remove them from the oven and let them rest for 20 minutes. Lower oven temperature to 300 degrees.


Gently transfer logs to a cutting surface and use a serrated knife to cut them on the diagonal into 1/2 inch wide slices. Because of the nuts and the nature of the dough, the biscotti at this point are prone to crumbling; just be sure to use a slow, gentle sawing motion and accept the fact that some bits and pieces will break off (I love this part of the recipe). Carefully transfer the slices, cut sides up, to a parchment lined baking sheet. You can crowd them together, as they won't expand further; about 1/4 inch breathing room is all that is required.


Return biscotti to oven and baken them for 20 minutes. Remove from oven, quickly turn them over, and bake for an addition 15 minutes, or until they're very dry and beginning to brown. Remove from the oven, cool completely.


Pour chocolate into a microwave safe bowl. Heat for 30 second increments, stirring in between, until chocolate is just melted. (It took me 3 intervals). Then, dip or drizzle tempered chocolate over biscotti. Put biscotti in fridge for 30 minutes to let chocolate set.