 This is my first pie crust.
Yes, it has a crack. Yes, it shrunk when I baked it. No, it did not brown evenly. But, it was flaky, buttery, and (most importantly) I made it.
In fact, I made it 10 times over. While you might think it is rather foolish to put yourself in charge of Thanksgiving pie crust when you have never made it before, I figured it was the perfect time to start: lots of pies = lots of practice. I made 10 crusts: 2 were not up to scratch, 7 were used, and 1 was frozen. The 7 crusts were used in 5 pies: a chocolate, a pumpkin, a pecan, an 'Ohio Shaker' lemon, and (because I didn't like the first) a second 'Ohio Shaker' lemon (which I didn't like either).


While it was a little scary, and I still don't know exactly how pie dough should feel, the best way to roll it out, or how to flute a crust, the good news is my first attempt at pie crust was a success. And I simply cannot wait to make my next crust (come on food-processor-under-the-tree!).
I wanted to make 'Pâte Brisée' because the French really do have the whole pastry thing down. I decided to mix together a Joy of Cooking recipe with a Cook's Illustrated recipe. While neither is an all-butter recipe, the crusts definitely had that traditional 'Pâte Brisée' crumbly texture and buttery taste.
Here's how I made them:
As is often the case, dry ingredients go first: flour, salt, and sugar. Start by pulsing most of the flour and all of the salt and sugar. But, reserve 1 cup of flour to add after the butter and shortening have been mixed in.
 Speaking of shortening and butter... you next add in your chilled shortening.
 And(!!) your butter.
 (just look at it, you know this crust is going to be awesome)
When you process the shortening and butter with the flour, try not to overmix the dough. Just process it until it is the size of peas or resembles cottage cheese curds, about 15 seconds.
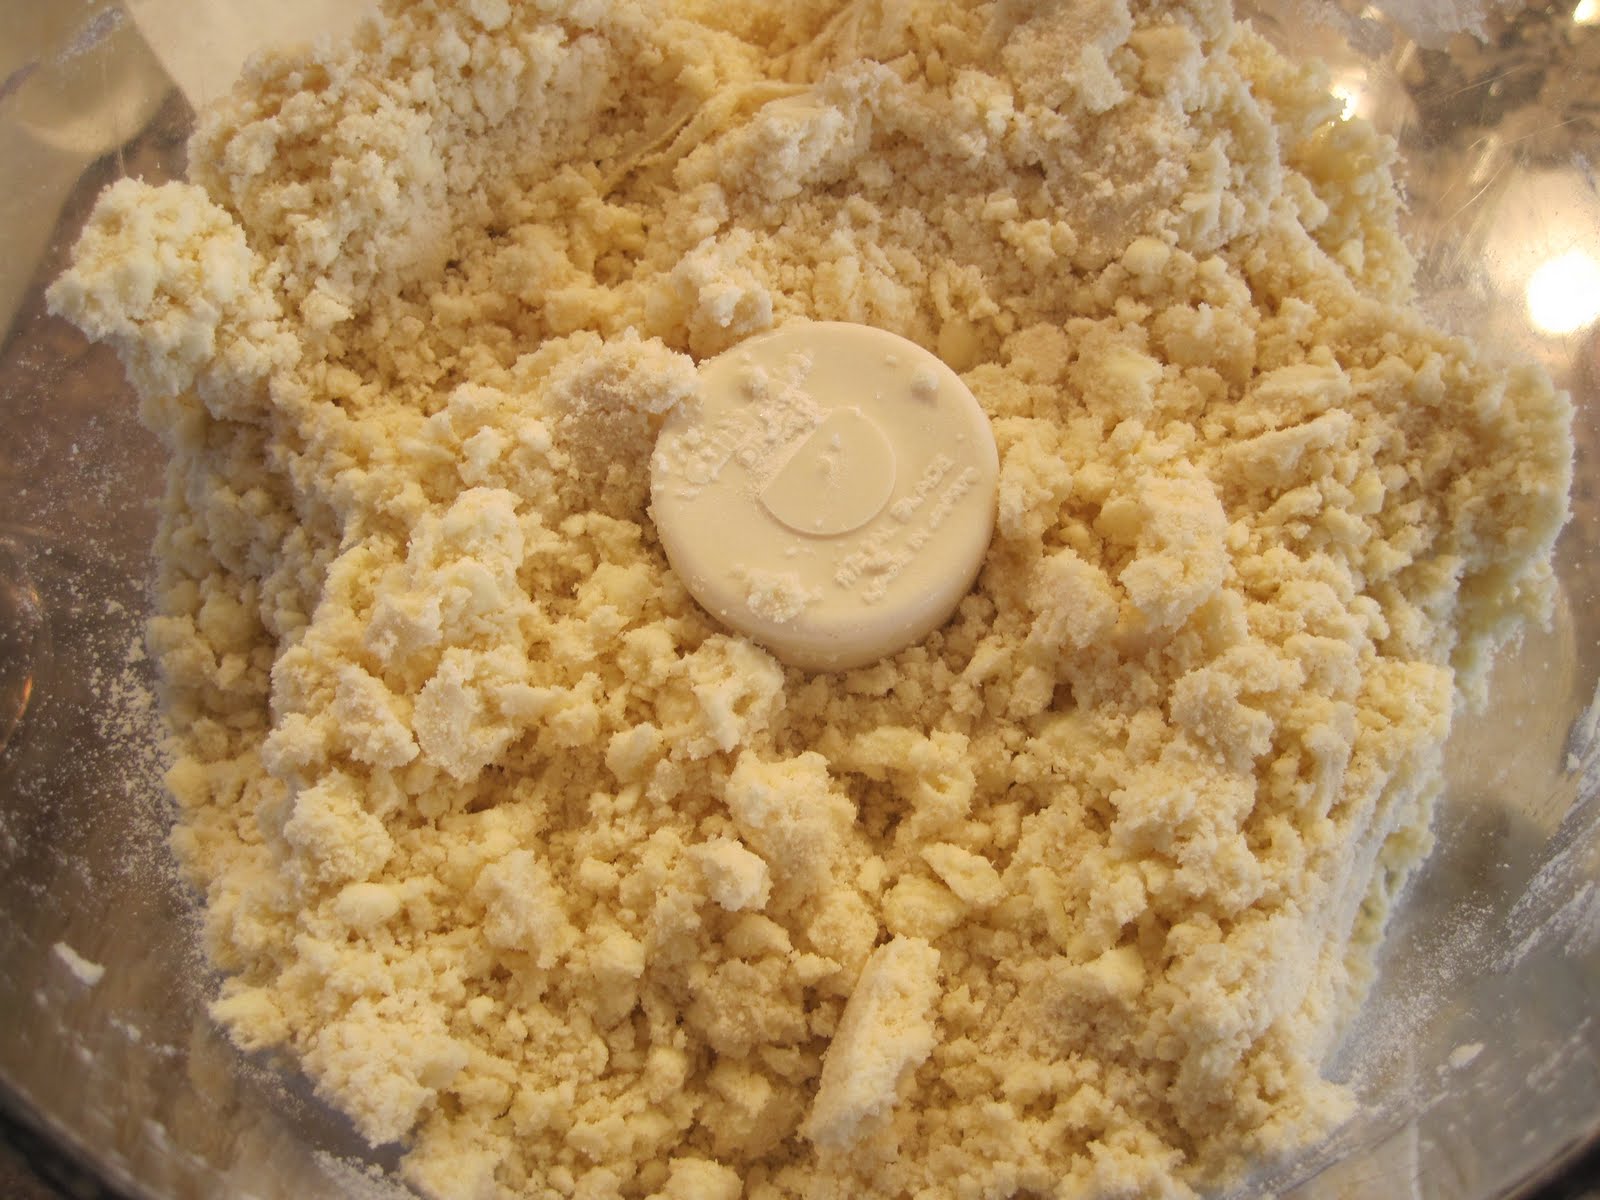 Now, remember that reserved cup of flour? Add it in and quickly pulse, 4 to 6 times until everything is just mixed and evenly distributed.
 Pour that into a medium bowl, and now it is time to add the ice water. This is a tricky part because you don't want to add too much water, because that makes for a hard, chewy crust. But, too little water leaves you with crumbly dough that will split when rolled. So, the Joy of Cooking has you start by adding 6 tablespoons of water.
 So how do you know when your dough is well-mixed? Unlike lots of other doughs, if pie dough forms a ball on its own, it is too wet. This is very confusing to me because, come on, isn't dough just supposed to form a ball? Apparently not. The experts say you want to mix the dough until it holds together when pressed with your fingers. This means that even though the dough may look crumbly, if it sticks together between your fingers, it is done. It was not until crusts 9 and 10 that I started to figure this out.
 Once the dough is 'sticking together between your fingers', you want to form it into a big ball. As the dough will most likely still be crumbly, don't be afraid to form it into a ball yourself. After all, it is just pie dough, no need to be too afraid of it. Not to mention, with all that butter, it is very pliable and coheres easily. Once you have a big ball of dough, cut it into two.
 Wrap each half with cling-wrap. It helps if, once it is in cling-wrap you flatten each into a 4-inch disk. I did not do this. As a result, rolling it out took longer, which meant the dough got warmer as I rolled it, and let me tell you, warm dough is particularly uncooperative. You want the dough in the frig for at least an hour, although it is good up to 2 days. Don't skip this step because chilling the dough makes the crust more tender, makes rolling it out easier, and helps prevent shrinking during baking. How could you pass these benefits up?
 (obviously, I had not grasped the 'flat disk' concept with this dough. Good thing there will be a next time).
After the dough has rested, it is time to roll it out. If it has been resting for longer than 30 minutes, you need to wait until the dough warms up a little bit and feels like modeling clay. Dough that is too cold cracks when you try to roll it out, believe me.
 There are a few things to keep in mind when you roll out your dough. First, you want to roll your dough out as fast as you can, as the dough gets more difficult to work with as it gets warmer. Second, it is a not a pretty sight if your dough sticks to the surface you are rolling it out on. To make sure your dough doesn't stick, every once and a while, slide your hand under the dough: if it sticks, add more flour. Don't be afraid to move the dough about. Again, it is just dough. Third, roll your dough out into a circle that is a few inches bigger than your pie plate. Obviously, my dough was nowhere near a circle.
 It turns out, you want it in a circle because that makes it easier to get into the pie plate. Regardless of the shape, to get the dough into the pie plate, roll your dough loosely around your rolling pin, center the pin over the pan, and unroll the dough (this is also a great technique for pizza crust).
 Once the dough is in the plate, trim off the excess. What you do next depends on the kind of pie you are making. If you are making a double crust pie, add your filling, and brush the edge of the bottom crust with cold water. Then put the second crust over top, pressing around the edges to seal it to the bottom crust. Listen carefully: if the second crust splits or gets a hole, do not panic. Just take a little of the excess pie dough and patch it up. The splitting happened on both my lemon pies, but I ended up really liking the aesthetic of the patched top.
 If you are not doing a double crust, feel free to flute the crust. Unless you lack this skill, like me. My mom tried to teach me, but just getting the dough into the pie plate was challenge enough this go round. I ended up just pinching dough together with my thumb and forefinger. It wasn't stunning, but it worked. After the crust is fluted, you tuck in the overhanging dough, so it is flush with the rim of the pan. If you are baking the pie with the filling, add in the filling, and bake it off. But, if you are baking a crust for a precooked filling, you will want to prick the bottom with a fork.
 To bake a crust for precooked filling, you 'blind-bake', i.e. you add weights on top of the crust so it bakes evenly. You can add metal weights, beans, or rice. Just cover the crust with foil, and add in the weight of your choice. Midway through the baking process, you will take these out.
 At the end of it, you have your very own pie crust. And, as my father said, since this is a homemade pie crust, why shouldn't it look homemade? So if it is cracked, if it doesn't brown evenly, or if you had to patch the top, don't worry, your crust simply has character.
 This particular crust got filled with chocolate, and topped with whipped cream and chocolate shavings.
For next time:
1. I will embrace the fact the pie dough doesn't form its own ball.
2. I will flatten the dough into disks before I chill it, so I can roll it out quicker.
3. I will roll the dough into a circle.
4. I will make a serious effort to flute properly.
For this time: I made my own pie crust and it felt (and tasted!) great.
Pâte Brisée (adapted from Joy of Cooking and Cook's Illustrated)
Ingredients:
2 1/2 cups all purpose flour
1 1/4 tsp salt
1 Tablespoon sugar
1 cup cold unsalted butter
1/4 cup chilled vegetable shortening
6 tablespoons ice water
Directions:
Process 1 1/2 cups of flour, salt, and sugar until combined, about two 1-second pulses. Add butter and shortening. Process until homogeneous and dough just starts to collect in uneven clumps, the dough resembles cottage cheese curds, and make sure there is no uncoated flour-- this takes about 15 seconds. Scrape the bowl with a rubber spatula and redistribute the dough evenly around the bowl. Add remaining cup of flour and process until mixture is evenly distributed around the bowl and mass of dough is broken up-- 4-6 quick pulses. Empty the mixture into a medium bowl. Sprinkle water over mixture. With rubber spatula, use folding motion to mix, pressing down on dough until dough is slightly tacky and forms small balls that hold together when pressed with your fingers. If necessary, add 1 teaspoon to 1 tablespoon of water.
Divide the dough in half, shape each into a 4-inch disk, and wrap in plastic wrap. Chill in the frig for at least 1 hour and up to two days.
Remove disk from frig and roll out on a floured work surface. Place the dough in the center of the floured surface and lightly flour the dough as well. Exerting even pressure on the pin, roll the dough from the center out in all directions, stopping just short of the edge. In order to keep the dough in a circular shape, each stroke should be a quarter-turn or so from the one that proceeded it. You can do this by rotating the dough or by moving the pin. Be sure to check the dough for sticking by periodically sliding your hand beneath it; scatter a little more flour on the work surface as necessary. Seal cracks and splits by pushing the dough together with your fingers. Patch any holes, tears, or thin spots with dough scraps, dabbing them on one side with cold water and then firmly pressing them, moistened side down, into place. Cover any gaps in the overhang in the same matter.
Roll the dough until it is a 12-inch disk. Transfer the rolled dough to the pan by rolling it loosely around the pin, centering the pin over the pan, and then unrolling the dough. If the dough is off center, slide your hands under the dough and carefully slide it into position. Ease the dough into the pan loosely and then, using your fingertips, press it firmly in the pan. Trim the edges of the dough with scissors or a small pairing knife, leaving an overhang of 3/4 inch.
For a fluted rim, press your thumb and index finger, held about 1 inch apart, against the outside rim, then press a dent in the dough from the inside with the index finger of your other hand. Tuck the overhanging dough underneath itself to make a doubled rim, then rest the rim on the edge of the pie pan.
For a crust baked before filling, preheat the oven to 425. Prick the dough generously with a fork. Then, line the pan with foil and weight it with metal weights or dry beans. Bake for 15 minutes, remove the foil and weights, and bake for 5 to 10 more minutes. Cool before filling.

No comments:
Post a Comment