Friday, August 27, 2010

Fancy Apricot-Currant Compote

'Apricot-Currant Compote' sounds fancy, doesn't it? Well, it sounds fancy, looks fancy, and tastes fancy. In fact, I think it is fancy enough to be served on a cheese plate at a nice restaurant. And, I made it.

And, it's all thanks to Ad Hoc at Home. A wonderful, glorious, gorgeous cookbook by Thomas Keller.

I'll be honest with you, when I heard Thomas Keller, the Thomas Keller, was putting out a cookbook for home cooks, I was as cynical as I was intimidated. He has won 3 Michelin Stars not once, but twice for The French Laundry and Per Se. He is obviously one of the top chefs in the world. Surely, I thought to myself, there is no way he could come down to my level.

But, there, on the first pages: a recipe for fried chicken. Then, a few pages later, tips on how to add salt to a dish (sprinkle from a height). And all of a sudden it dawned on me: this book was designed for me and this book was going to make me better... and more fancy.

Take, for instance, this apricot-currant compote. It is something you can have in your pantry at all times. Add it to anything, cheese or charcuterie plates, meat main dishes (porkchops are especially nice), and, voila, it is instantly 'gourmet'.
And it doesn't involve any special technique.

Here's the trick: in addition to the apricots and currants you add a sachet of star anise, coriander seeds, and cinnamon. And, just like that, you have elevated apricot jam into this slightly spiced, elegant, impressive apricot-currant compote. Now, adding a sachet of spices to jam would never have occurred to me. But, now the possibilities are endless. And its those kind of insights that are making me a better home cook.

Enough preliminaries, let me show you how I made the jam.

(Now, I must confess. The first go round with this jam did not go well. If you want to know what to do when jam caramelizes to the bottom of your Dutch oven, see the end of this post).

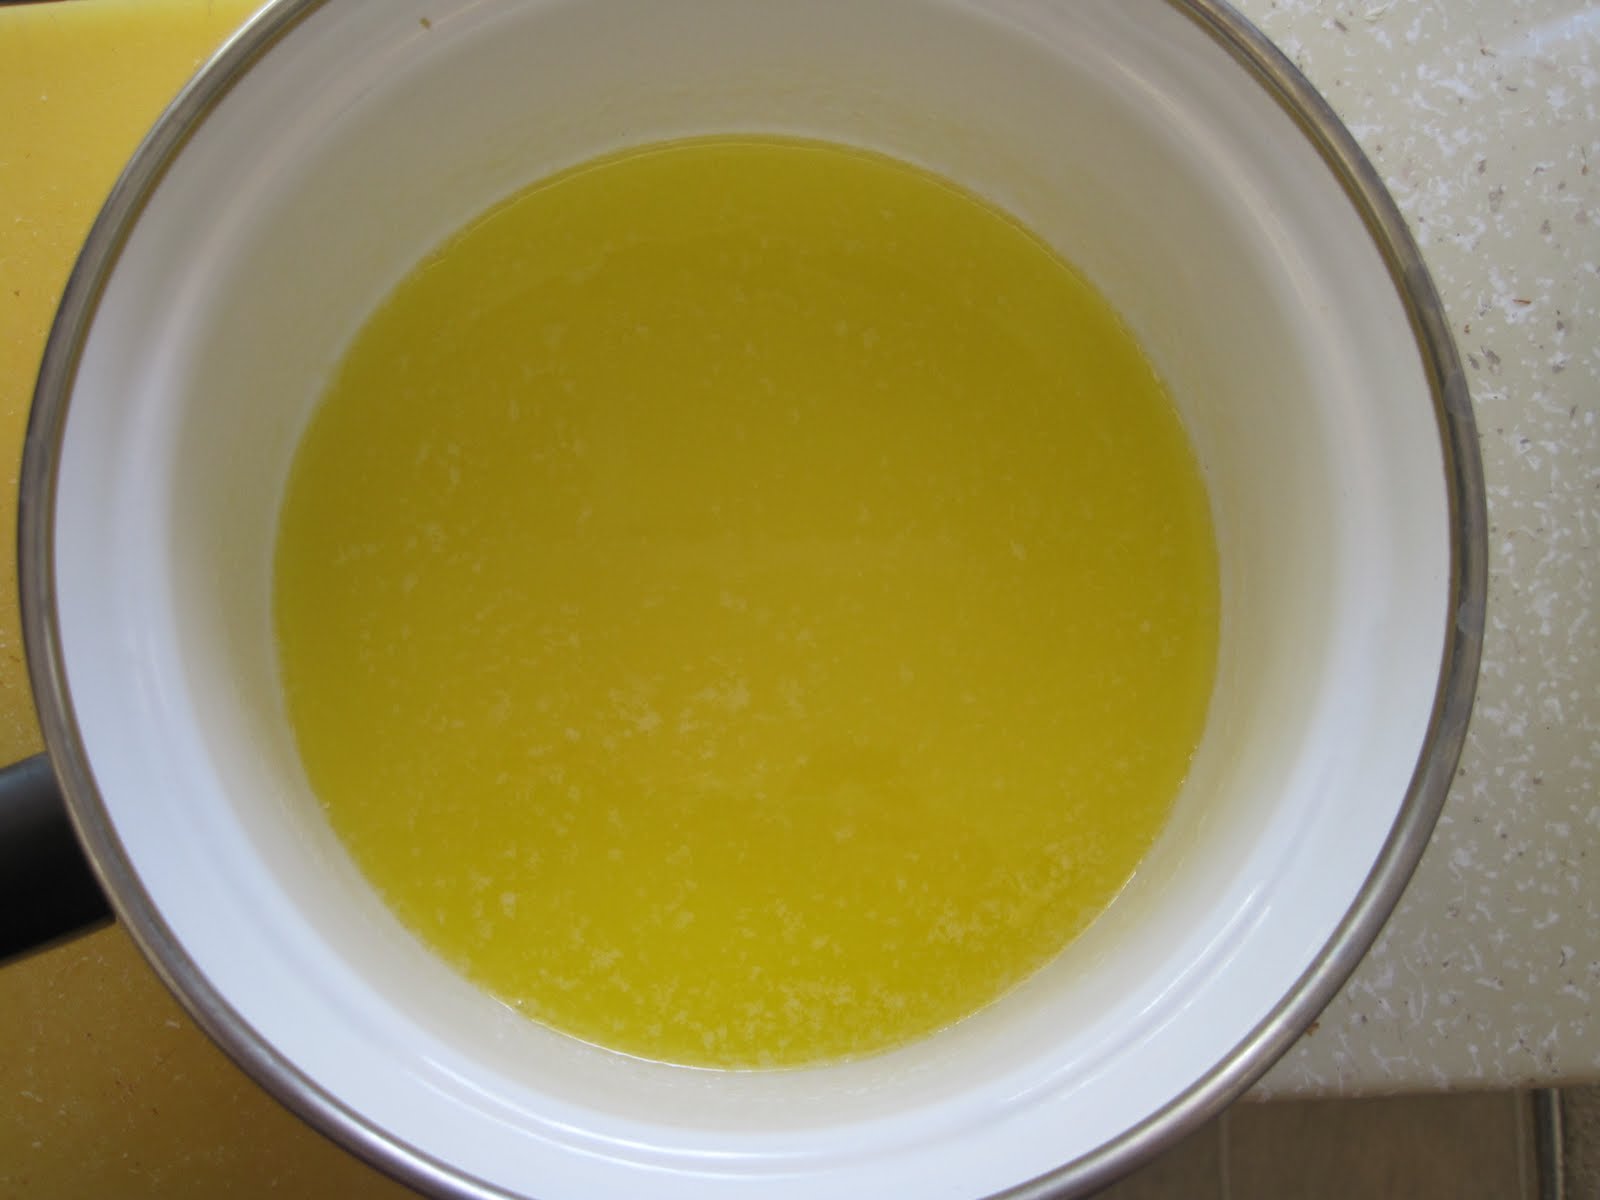
First off, start with some firm, but ripe apricots.
Halve them.
Sprinkle sugar over them.
Let that sit for 10 minutes.
In the meantime, it is important to combine your pectin with part of the sugar. If you add pectin straight away to preserves, you will end up with a glue-like mess. You need the sugar to help it all dissolve.
Next, for the spice-sachet. Add a star anise, coriander seeds, and a cinnamon stick to some cheesecloth.
Roll that up and add it to your apricot-sugar mix. And, enjoy the fact that you just did something that will make your compote 'gourmet'.
Bring that to a simmer and simmer for 15 minutes. And, do be sure to stir, or else disaster can and will strike (see the end of the post).
Time for the currants. These:
are currants. It's like cranberries and raisins had a baby and the baby is way better than its parents. I am officially addicted. (Although, a note of warning, don't add them to pumpkin muffins. In my currant-zeal, I tried to replace raisins with currants and the currants took over in a throw-away-that-batch-of-muffins way).

Add those into the mix. And simmer for 5 minutes.
Next, slowly whisk in the pectin-sugar mixture.
Continue to simmer until the jam becomes this gorgeous amber,
and can pass the plate test. Once it passes the plate test, add in a little lemon juice, take out the sachet, and you are done.

And, just like that, you made something that is delicious... and fancy.
Thank you, Thomas Keller. You just made me better.

Apricot-Currant Compote (from Ad Hoc at Home)
Ingredients:
2 cups granulated sugar
1 1/2 tablespoon pectin*
1/2 tsp coriander seeds
1 cinnamon stick, broken in half
1 star anise
2 1/4 pounds ripe apricots, cut in half and pitted
1/4 cup dried currants
1 tsp fresh lemon juice

Combine 1/3 cup sugar and the pectin in a small bowl, mixing well so that the pectin will dissolve smoothly; set aside. Make a sachet** containing the coriander, cinnamon, and star anise.

Put the apricots in a large bowl, add the remaining 1 2/3 cup sugar, and toss to coat the apricots in sugar. Let stand for 10 minutes to draw out some of the juices from the apricots.

Transfer the apricots and any sugar and juices to a wide sauce pan*** and attach a candy thermometer to the pan. Add the sachet and bring to a simmer over medium heat. The apricots will release more liquid as they cook; stir to submerge the apricots in the liquid. Adjust the heat as necessary to keep the apricots at a simmer, and cook until they are tender but not mushy, about 15 minutes.

Stir in currants and cook for about 5 minutes, or until the currants are tender. Slowly whisk in the sugar and pectin mixture and continue to cook until the syrup registers 215-220 degrees.*** * Remove from heat.

Remove the sachet and stir in the lemon juice. Spoon the compote into a canning jar or other storage container, cover, and let cool to room temperature, the refrigerate up to 1 month.

*Keller calls for apple pectin, which I could find nowhere. So, I substituted Sure-Jell no-sugar pectin and it worked just fine.
**To make a sachet, get a 7-inch square piece of cheese cloth. Put the spices near the bottom of the square and fold up the bottom edge over them. Roll once, tuck in the two ends of the cheesecloth, and continue to roll. Tie the cheesecloth at both ends with kitchen twine.
***Keller calls for a medium-sauce pan, but I prefer to use my 5.5 quart Dutch oven
****My compote never reached 215, it just hovered around 210. But, it passed the plate test after about 40 or so minutes. And it ended up jelling just fine.

As I said, the first go round did not go well for me:
I didn't stir it, which to my credit, Keller doesn't tell you explicitly to stir it all the time, and it literally caramelized onto the bottom of my pan.

Two lessons were learned from this:
1. Stir
2. If you are devastated because you caramelized jam on the bottom of your Le Creuset Dutch oven isn't coming off. Don't cry! Instead, boil some water in the pan and add baking soda to it. Then, gently scrape up the caramelized disaster with a wooden spoon. After doing this three times, it finally came off. Thank goodness.

Thursday, August 19, 2010

Berry Preserves, the Blueberry and Strawberry Varieties

In the backyard of the house I grew up in there were these blackberry bushes. Every summer they would produce buckets and buckets of blackberries. Now these berries, well, words fail me... suffice it to say, they were perfect. And what better thing to do with perfection than eat it? And what better to do with the buckets that you cannot cram into your mouth? Preserve them.

While those blackberry preserves were my go-to for biscuits, toast, and peanut-butter and jelly sandwiches for the past four years, a week ago, tragedy struck: I just got to the end of my last jar. My parents have moved, so those blackberry bushes of gold were out of reach. What was left for me to do but make my own preserves with, gulp, store-bought berries?

Fortunately,
things worked out.

Just look at how gorgeous these blueberry preserves are.
And they taste gorgeous as gorgeous as they look.

According to my father, and I quite agree, all you need for really terrific preserves are good berries and a little sugar. No mounds of sugar and no pectin. If you have those gorgeous berries, why not let them sing?

To make berry preserves, you obviously need to start with berries,
and start with good berries. (Oh, summer, the ways I love thee).
Now, get your berries into a pot with a wide mouth. I like to use my Dutch oven for this.
Pour some sugar over them.
And, now for my favorite part. with your hands, squnch the berries and the sugar together. This will reduce your cooking time a bit, as you don't have to wait for the heat to burst the skin of all the berries. And it is so fun.
Once everything is suitably squnched, bring your berries to a simmer over medium heat.
(How stunning is that purple, just starting to peep through?)

Cook for about 25 or 30 minutes, stirring every 5 minutes or so to make sure that nothing gets stuck to the bottom. Towards the end of the cooking time, you may need to stir more frequently.
This process is exactly the same if you use strawberries instead of blueberries, except for the fact that you need to hull the strawberries first.

But from that point on, it is the same: strawberries in pot, add sugar, squnch, and simmer.


So, how do you know when they are done? If you are like my father, you just know. If you are like me, you need a test. Enter: the plate test. At the beginning of the preserving process, put a couple of plates in the freezer. In order to check to see if your berries are done, take a plate out of the freezer and put a small spoonful of syrup on the plate. Pop it back in the freezer for another 3 minutes. Take it out and run your finger through the middle. If the two sides very slowly move back together then you have a soft-set preserve on your hands. Now, you can cook it a bunch more to get those preserves firm, in which case the lines won't move at all, but I prefer to cook as little as possible, to retain the fresh taste.
If you are going to put the preserves up in cans, let me introduce you to your new best friend.
Meet the jar lifter. If you are at all interested in canning, buy one of these. It is a life/burned fingers saver. To seal your jars, add preserves to sterilized jars. Add the seals, screw on the tops, jar-lift them into a pot of boiling water, and boil for 10 minutes.

And there you have it: completely delicious homemade preserves.
Good on biscuits, good on toast, good straight from the jar.

Berry Preserves (adapted from my father and Jamie at Home)
Ingredients:
2 lbs fresh berries (blackberries, strawberries, blueberries, raspberries)
1/2 cup sugar

Directions:
Sterilize jars* and put a couple plates in the freezer.

Wash and dry the berries. Pour the berries into a 10-inch wide pot. Pour the sugar on top of the berries. Squnch the berries with your hands until all of the sugar has dissolved. Put the pan over medium heat, and simmer the berries for 20-30 minutes. Skim off the foam and stir every five minutes. Stir more frequently towards the end.

In order to test for doneness, remove the pot from the heat. Then, take the plate out of the freezer and put a small spoonful of the syrup on the plate. Put the plate back in the freezer for 3 minutes. Take the plate out and draw your finger through the middle. If the two sides of the syrup slowly come back together, then you have soft set preserves. If the two sides do not come back together at all, then you have medium-firm set preserves. If the lines quickly run together, return the pot to heat and continue to simmer until done.

Ladle the preserves into the sterilized jars, and process in boiling water for 10 minutes.

*In order to sterilize jars, wash the jars and then place them in a pot of boiling water for 10 minutes. Leave the jars in the hot water while your berries are cooking down.

Tuesday, August 10, 2010

Blueberry Muffins, aka Why Canola Oil is the Bane of My Baking Existence

My obsession with blueberries this summer knows no limits.
But, just look at that gorgeous berry, bursting with goodness? How could I resist?

While this story ended happily with these delicious blueberry muffins,
there was darkness before there was light.

And the villain? Canola oil.

I will not mince words here: I think canola oil ruins baked goods. There, I said it. But, I can back it up. I made two batches of these blueberry muffins. The first ones were with canola oil and as soon as I bit into one, I had this gross vegetably taste in my mouth. And, as I was spitting the muffin out, I flashed back to another bad muffin I once made that had an equally vegetably taste: pumpkin muffins too gross to blog about. I rushed to compare recipes, and I soon discovered the culprit, with its insidious vegetably-muffin-ruining-flavor: canola oil.

To test my theory that canola oil is the devil, I made a second batch of these blueberry muffins, swapping out canola oil for safflower oil. And the second batch was delightful. Everything you want a blueberry muffin to be.

The scientific conclusion from this test:
Okay, now that I have ranted, time to tell you about this gorgeous blueberry muffins. They are really lovely little muffins: not too sweet, and with a slightly cake-y texture. But the lemon, oh the lemon, makes them perfect.
(Just looking at them you know they are best friends)

These muffins are a cinch to make. You don't even need two bowls: just one bowl and a liquid measuring come. How great is that? To start, combine your dry ingredients with the zest of one lemon.
Next, in a large measuring cup, mix together your not-canola oil (I used safflower), buttermilk, vanilla, and egg. Set aside.
Now, add those wonderful blueberries to the dry ingredients.
And fold them in lightly.
Then, make a well in the middle of the dry ingredients and pour in your liquid ingredients. The well helps you make sure all the dry ingredients, even the pesky ones on the bottom, get incorporated.
Fold everything until just incorporated. As ever, no overmixing unless you like tough muffins.
Now, bust out your muffin tin's best friend: the ice cream scoop.
Scoop the batter into the muffin tins, so each tin is full.
Pop them in the oven for 20 minutes.
And!
Get ready to love what you just made!

Buttermilk Blueberry Muffins (from joyofbaking.com)
Ingredients:
2 1/2 cups all-purpose flour
3/4 cup granulated white sugar
2 tsp baking powder
1/2 tsp baking soda
1/4 tsp salt
Zest of one lemon or orange
1 egg, lightly beaten
3/4 cup buttermilk
2/3 cup safflower oil (not canola oil)
1 tsp pure vanilla extract
2 cups fresh or frozen blueberries*

Directions:
Preheat oven to 375.** Position rack in center of oven. Butter or spray a muffin tin. Set aside.

In a large measuring cup, whisk together the egg, buttermilk, oil, and vanilla. Set aside.

In another large bowl, combine the flour, sugar, baking powder, baking soda, salt, and lemon zest. Gently fold in the berries. Make a well in the middle of the dry ingredients and pour in the wet ingredients. With a rubber spatula fold in the wet ingredients and stir only until the ingredients are combined.

Fill each muffin cup almost full of batter, using two spoons or an ice cream scoop. Place in oven and bake until toothpick inserted in the center of a muffin comes out clear, about 20 minutes.*** Transfer to a wire rack and let cool for about 5 minutes before removing from pan.

*Raspberries, strawberries, or blackberries would also do.
**Since I have a non-stick muffin tin, I lowered the temperature to 350 on the first batch. But, this was a bad idea, as the muffins didn't get very golden on top. So, for the second batch, I had it at 375, and they turned out much better.
***If you are using frozen berries, it might take a little longer.

Monday, August 2, 2010

Granola Trials: Why you should add butter or oil to your granola

One of my absolute favorite things to eat during the summer has to be vanilla yogurt, fresh fruit, and granola. Blueberries, raspberries, peaches, nectarines: you name it, and I pile it on to yogurt and granola, and eat until my heart's content.
This desire, however, has left me needing granola around my house all the time. While you can certainly buy some gorgeous all-natural granola in the stores these days, I figured it was about time I nailed down a home-made granola recipe I loved.

Hence, the 'Granola Trials'.

In my research on granola recipes, I was struck by the difference in the amounts of butter or oil used in recipes. At one extreme, Mark Bittman offers us a recipe that calls for no oil or butter whatsoever. While other recipes call for sticks upon sticks of butter. So, there I was, left wondering: should I add butter or oil to my granola?
And the answer...
Yes! Butter or oil are essential to making granola.

The granola I made without the butter/oil simply was not granola. It tasted like toasted Muesli. Which, if you are into that sort of thing, I have the perfect recipe for you. If, however, you want something that tastes like granola, you need to add the butter/oil.

'Why?' you ask. Well, the butter/oil component is essential to giving your granola crunch. And, I'll be honest with you, 99% of the reason I eat granola is because I adore that crunch. Muesli, even toasted Muesli, simply will not do.

So, here's how to make granola that tastes like granola.

Start by mixing together your dry ingredients: oats, nuts, coconut, cinnamon, and a pinch of salt.
In the meantime: embrace the butter. Add the butter and honey to a small sauce pan.
(I mean, come on! Just looking at this, you know whatever it is added to is going to taste better!)

Melt over low heat.
Now, add that honey-butter to your dry ingredients. And stir it up.Bake at 300 for about 40 minutes until golden brown. You'll want to stir occasionally.Remove from oven and cool completely.
Once its cool, feel free to mix in dry fruit. But, what I prefer to do is add fruit on a case by case basis to suit my mood. And since it is summer, and summer fruit is glorious, I have abandoned dry fruit all together in favor of scrumptious blueberries and peaches.

Homemade Granola (adapted from epicurious.com)
Ingredients:
2 cups old-fashioned rolled oats
1 1/4 cup roughly chopped almonds, or any mix of nuts you like
1/2 cup shredded coconut
1/3 cup packed brown sugar
1 teaspoon cinnamon (slightly heaping)
a dash of salt
1/2 stick (1/4 cup) unsalted butter
2 tablespoons honey
1 cup dried fruit (optional)

Directions:
Preheat oven to 310. Mix together oats, nuts, coconut, brown sugar, cinnamon, and salt. Meanwhile, in a sauce pan over low heat, melt the butter with the honey. Pour over oat mixture and toss well. Spread on a baking sheet. Bake for 30-35 minutes, stirring occasionally, until golden brown. If using dried fruit, mix in once granola has cooled.

Store in an air-tight container.